
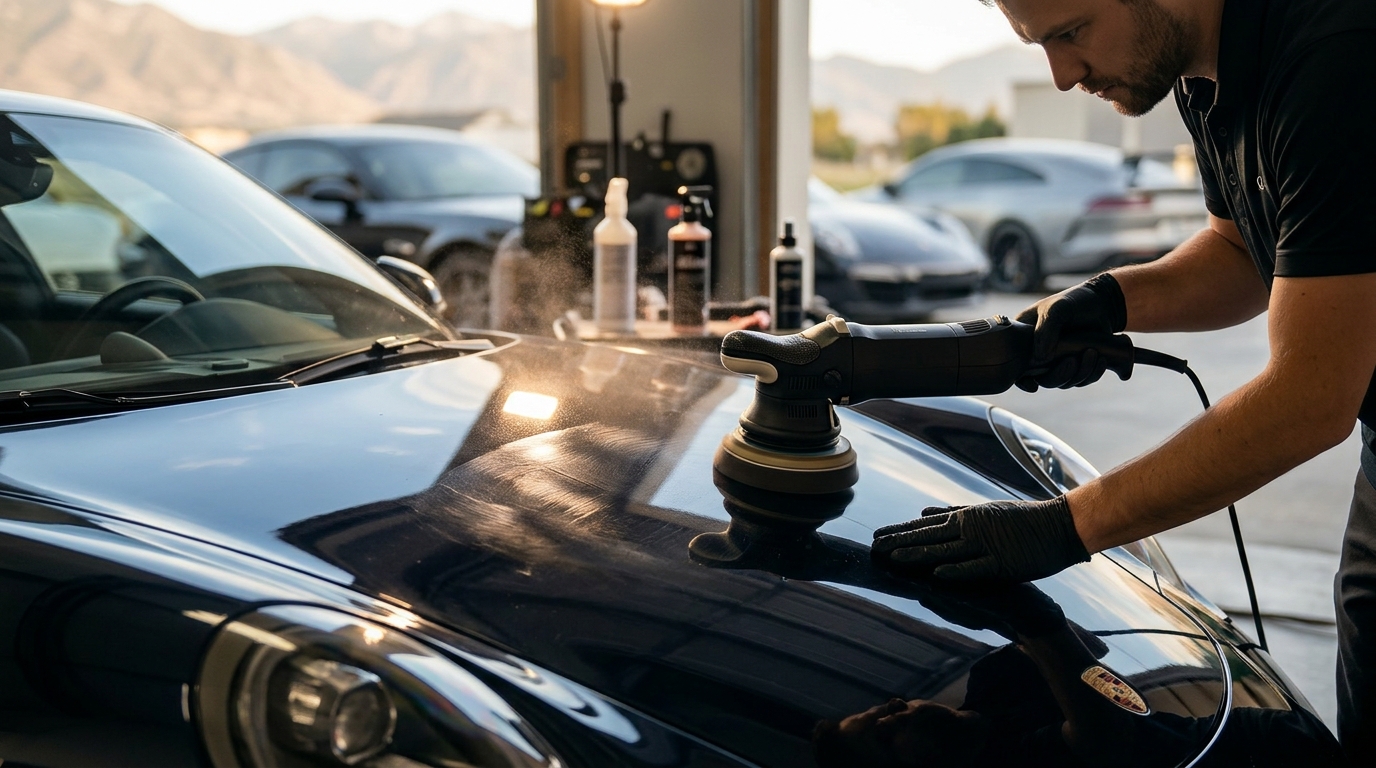
Swirl marks and light scratches are the most common cosmetic defects on vehicle paint, often caused by improper washing techniques or environmental exposure. Fixing these imperfections requires a systematic approach to paint correction, which involves mechanically removing a microscopic layer of clear coat to reveal fresh, defect-free paint underneath. Drop Detailing in Murray, Utah, specializes in this precise process, ensuring that your vehicle's finish is restored to a flawless, showroom-quality state before any protective layers are applied.
1. Perform a Thorough Decontamination Wash
Remove all surface contaminants before touching the paint with a machine.
Before any polishing can occur, the paint must be free of loose dirt, road tar, and iron fallout. A standard car wash is insufficient for paint correction because it does not remove bonded contaminants. At Drop Detailing, we begin with a two-bucket hand wash and a clay bar treatment to ensure the surface is completely smooth and free of embedded particles that could cause new scratches during the polishing process.
2. Inspect the Paint Under Proper Lighting
Identify the depth and severity of defects using a paint depth gauge.
Not all swirl marks are created equal, and some may be deeper scratches that require different tools. We use a paint depth gauge to measure the thickness of the clear coat, ensuring we do not remove too much material. This inspection phase allows us to map out the most damaged areas, such as the hood and roof, which are typically the most exposed to the elements and improper washing.
3. Select the Appropriate Polishing Compound
Match the abrasive strength of the compound to the severity of the defect.
Paint correction is a science of abrasion, where you must use the least aggressive product necessary to remove the defect. For light swirl marks, a fine finishing polish is often sufficient. For deeper scratches, a heavier cutting compound is required first, followed by a finer polish to restore clarity. Choosing the wrong product can either fail to remove the defect or remove too much clear coat, thinning the paint unnecessarily.
4. Apply the Compound with a Dual-Action Polisher
Use a dual-action polisher to safely remove defects without burning the paint.
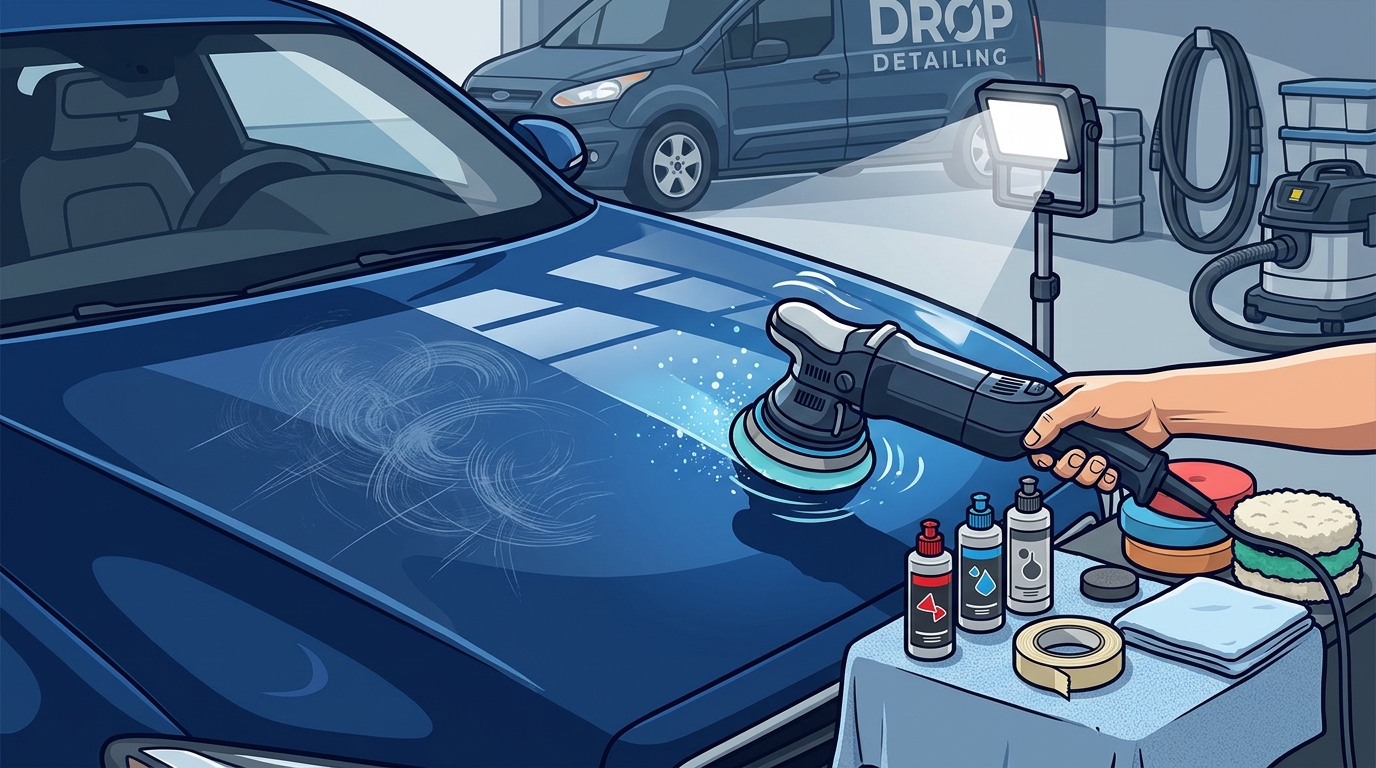
A dual-action polisher moves in an elliptical pattern, which is safer for the paint than a rotary buffer. We apply the compound to a foam pad and work in small sections, keeping the pad flat against the surface. This controlled motion ensures even material removal and prevents the tool from digging into the clear coat, which is a common mistake when using improper technique or excessive pressure.
5. Perform a Multi-Step Polish for Clarity
Follow up with a finer polish to maximize gloss and clarity.
After the initial cutting step, the paint may look clear but lack deep gloss. A second step using a finer polish and a softer pad removes the hazy residue left by the heavier compound. This step is critical for achieving a mirror-like finish. At Drop Detailing, we often perform a two-step polish process to ensure that the underlying paint is not only defect-free but also exhibits maximum depth and reflectivity.
6. Clean the Paint with a Paint Sealant or Coating Prep
Remove all polishing oils and residues to prepare the surface for protection.
Polishing compounds leave behind oily residues that can interfere with the bonding of protective products. We use a dedicated paint sealant or coating prep solution to strip away these residues. This step ensures that the next layer of protection, whether it is a sealant or a ceramic coating, bonds directly to the paint for maximum durability and performance.
7. Apply a Long-Lasting Protective Layer
Lock in the corrected finish with a ceramic coating or paint protection film.
Once the paint is corrected, it is vulnerable to new defects if not protected. We recommend applying a ceramic coating to create a hard, hydrophobic shield that repels water and dirt. For high-impact areas, we may also apply paint protection film to prevent rock chips and physical damage. This final step ensures that the time and effort invested in paint correction are preserved for years to come.
Choosing the Right Approach for Your Vehicle
The best method for fixing swirl marks depends on the severity of the defects and the value of your vehicle. For light swirls on a daily driver, a single-step polish and sealant may be sufficient. For high-value vehicles or those with deeper scratches, a multi-step correction followed by a ceramic coating is the ideal solution. Drop Detailing provides a free quote and inspection to determine the best course of action for your specific vehicle, ensuring you get the best possible result without overpaying for unnecessary work.
Frequently Asked Questions
How long does paint correction take?
The time required for paint correction varies based on the size of the vehicle and the severity of the defects. A single-step polish on a sedan might take a few hours, while a full multi-step correction on a large SUV or truck can take one to two days. At Drop Detailing, we provide a detailed timeline during your quote so you know exactly what to expect.
Can I fix swirl marks myself at home?
Yes, it is possible to fix light swirl marks at home using a dual-action polisher and a quality compound. However, there is a risk of damaging the paint if you use too much pressure or the wrong tool. For deeper scratches or high-value vehicles, professional correction is recommended to ensure a safe and flawless result.
Will paint correction remove deep scratches?
Paint correction can remove scratches that are only in the clear coat. If a scratch is deep enough to expose the base paint or primer, it cannot be removed through polishing. In these cases, the scratch may need to be filled with a color-matched paint pen or repaired by a body shop before polishing can be performed.
How long do the results of paint correction last?
The corrected paint will remain free of swirl marks until new defects are introduced by improper washing or environmental factors. To extend the life of your correction, we recommend applying a protective layer such as a ceramic coating or sealant. This protection makes the paint easier to clean and more resistant to new swirl marks.
Is paint correction the same as ceramic coating?
No, paint correction and ceramic coating are two different processes. Paint correction removes defects from the paint, while ceramic coating adds a protective layer on top of the paint. Ideally, you should perform paint correction first to ensure the coating is applied to a flawless surface. Applying a coating over swirl marks will lock them in place, making them more visible.
How often should I have my paint corrected?
Most vehicles do not need full paint correction more than once every few years, depending on how they are maintained. Regular washing with proper techniques and the use of protective products can significantly reduce the need for frequent corrections. If you notice new swirl marks or a loss of gloss, it may be time to schedule a professional detail.